
I recently bought Cricut’s watercolour markers and watercolour cards, and I am in love! You can create such cool designs, no artistic skills needed! In this tutorial you will learn how to create DIY watercolour Christmas cards with Cricut.
Some of the links below are affiliate links. If you choose to make a purchase, I may receive a small commission, at no extra cost to you. Thank you for your support!
Watch the Video
If you want to learn how to use Cricut watercolour markers, check out my YouTube tutorial below. I am sharing how to design the perfect card in Cricut Design Space, including tips on how to choose the best images.
In the video I also show how to use the water brush pen for the best results. You will also learn an important trick for using the Cricut card mat to avoid disaster!
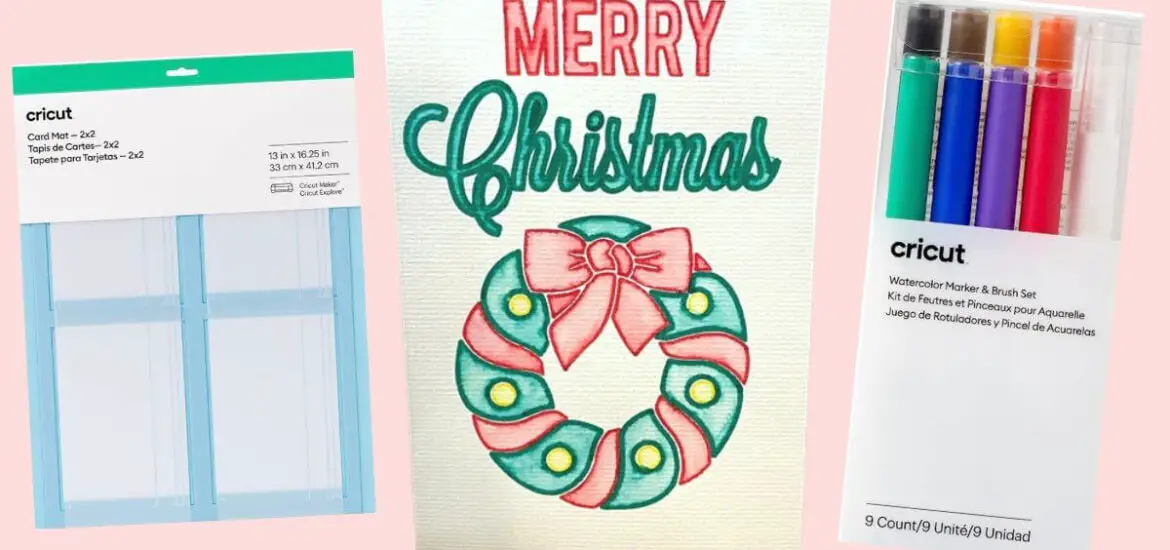
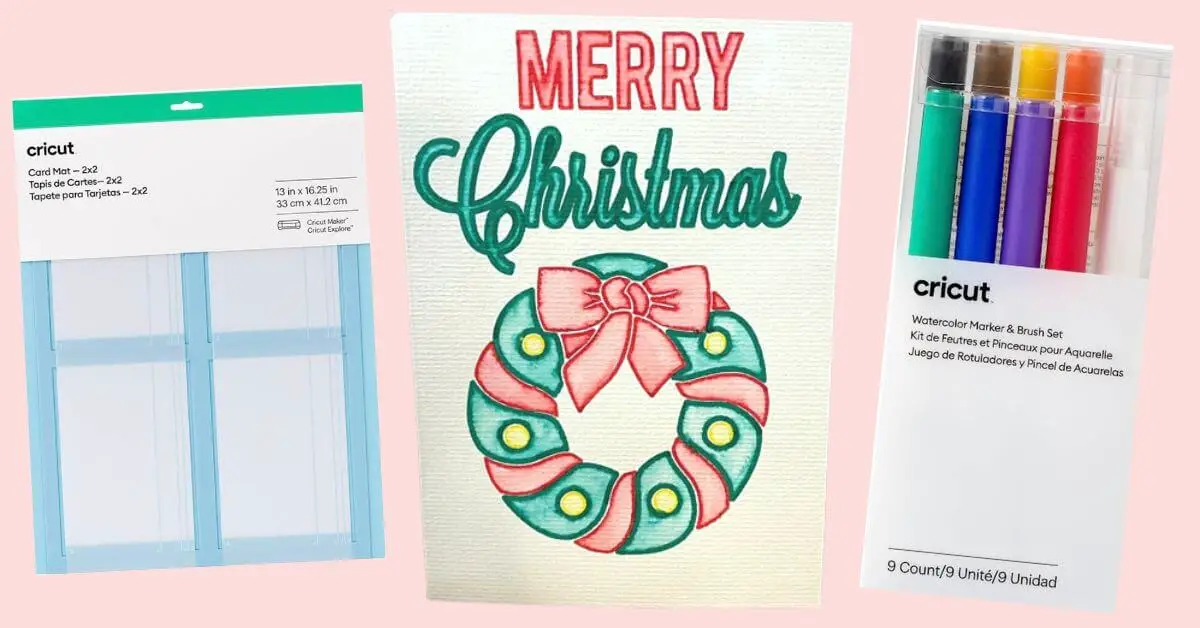
Supplies
Check out the links below for everything you need to make your own watercolour cards.
Instructions
- The first step in creating a watercolour card with Cricut is to create your design in Cricut Design Space. I go into depth on how to choose the best images and how to convert the design so it is compatible with watercolour markers in my YouTube video linked above.

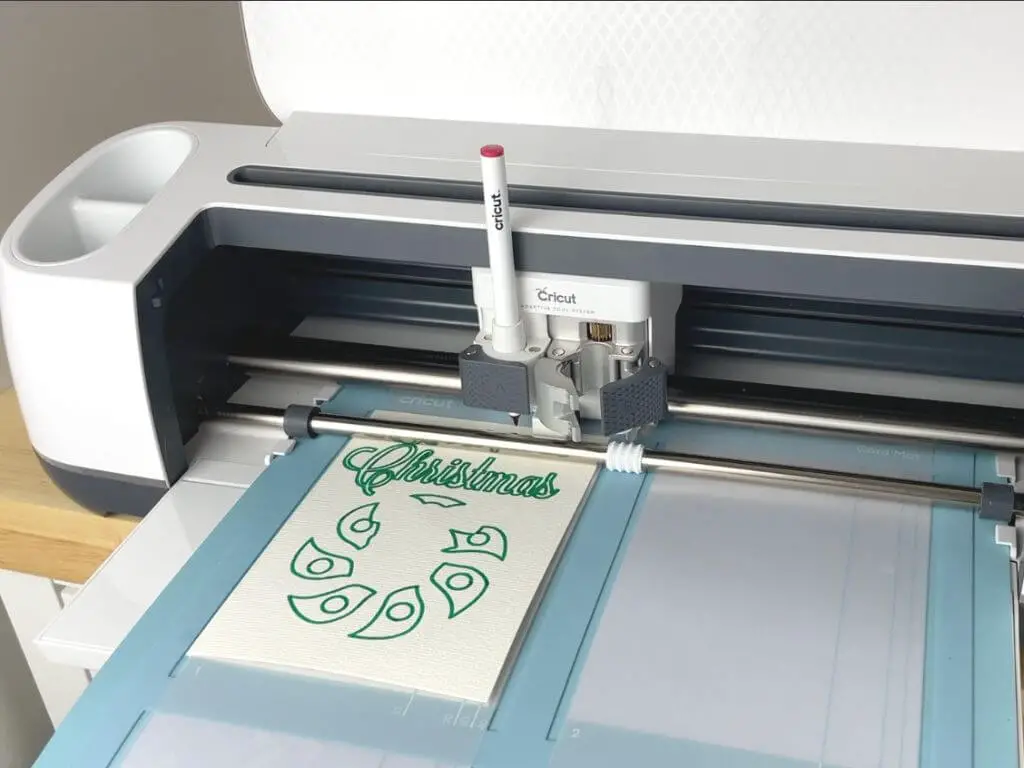
2. Once your design is finished, click on “Make it,” then select card mat. Load the watercolour card into the card mat, then load it into your Cricut.

3. Cricut Design Space will tell you which colour marker to load into the Cricut in which order. This is the fun part, watching the Cricut draw out the design you created in real life!
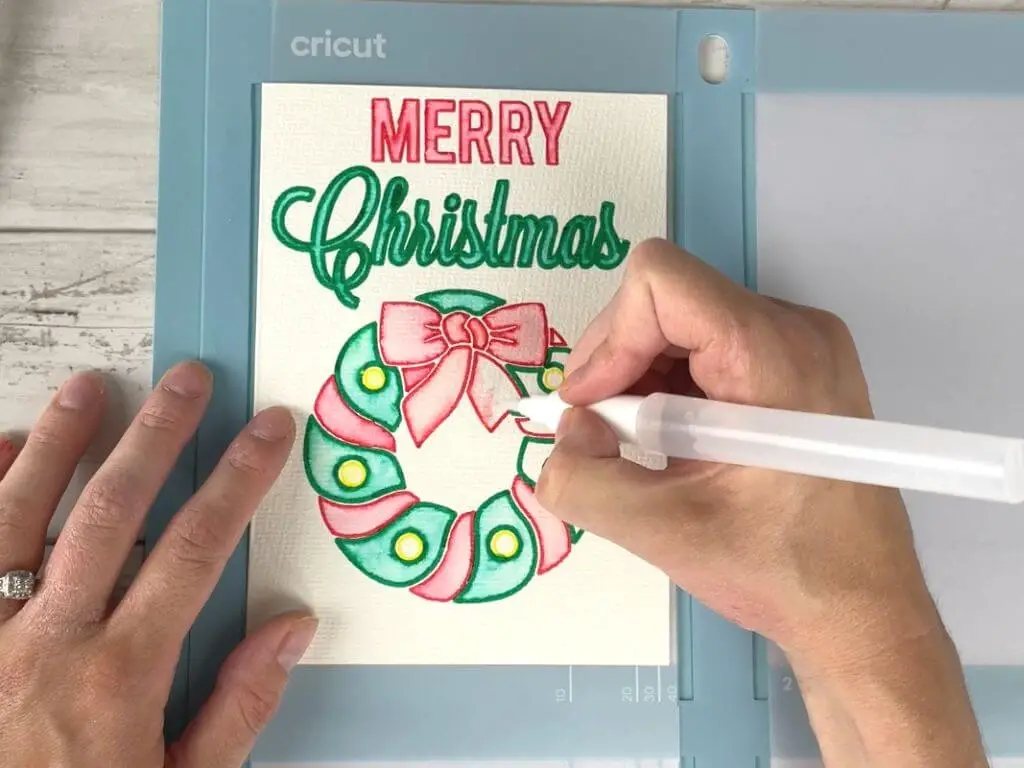
4. Now take the water brush pen, and squeeze a bit of water into the brush. Dab the excess water onto a paper towel, then drag the colour from the edges of the letters and the images as you colour in the design.
Make sure to dab the brush pen onto paper towel between each colour. To avoid smudging the paint, work from left to right as you fill in the design. (Unless you are left handed of course!)
5. Once the front of the card is finished, it’s time to write inside the card. Watch the YouTube video for a tutorial on how to choose a writing font for the Cricut.

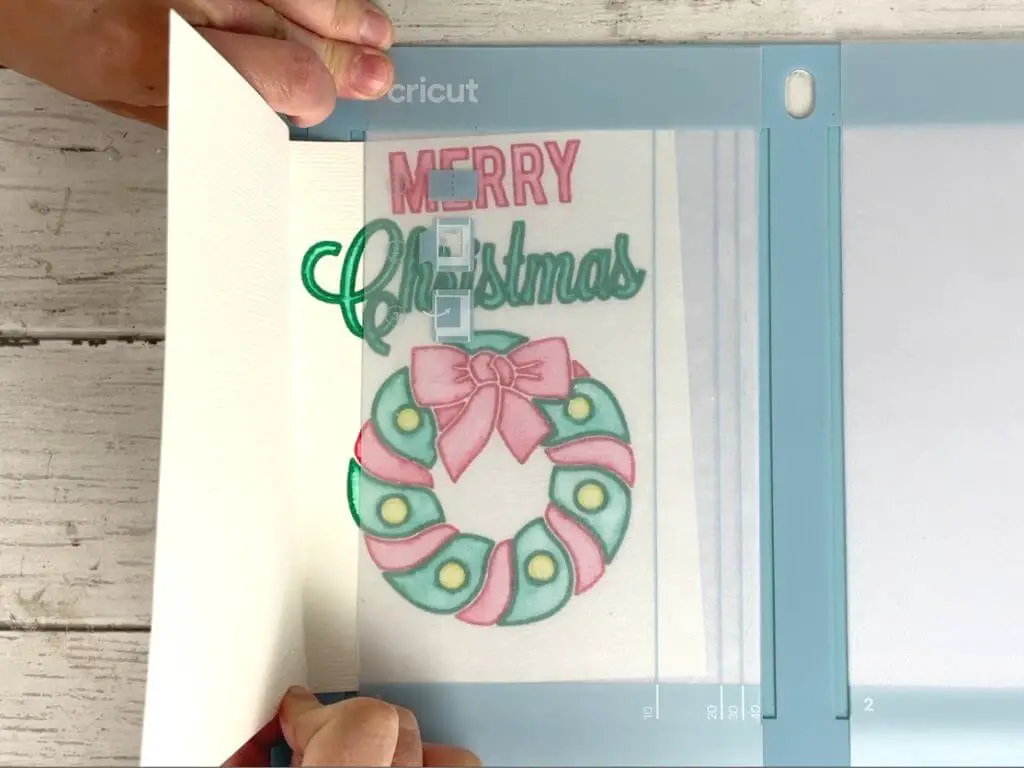
6. To write on the inside of the card, fold the card inside out and load it into the card mat. Watch the video for a very useful tip on why I used tape to hold down the card for this part of the DIY. Don’t make the same mistake that I did!

Here is the finished DIY watercolour Christmas card! I love how this turned out, and it was so much fun to make. Let me know if you have ever tried the watercolour markers or if you’re going to try it out now!

Thank you for checking out this post on how to make DIY watercolour Christmas cards with Cricut!
Make sure to subscribe to my YouTube channel, watch the tutorial, and let me know what you think!
For more Cricut tutorials, check out these posts next:
How to Create Pantry Labels with Cricut
DIY High-End Pillows with Cricut
xo,
Andrea
