

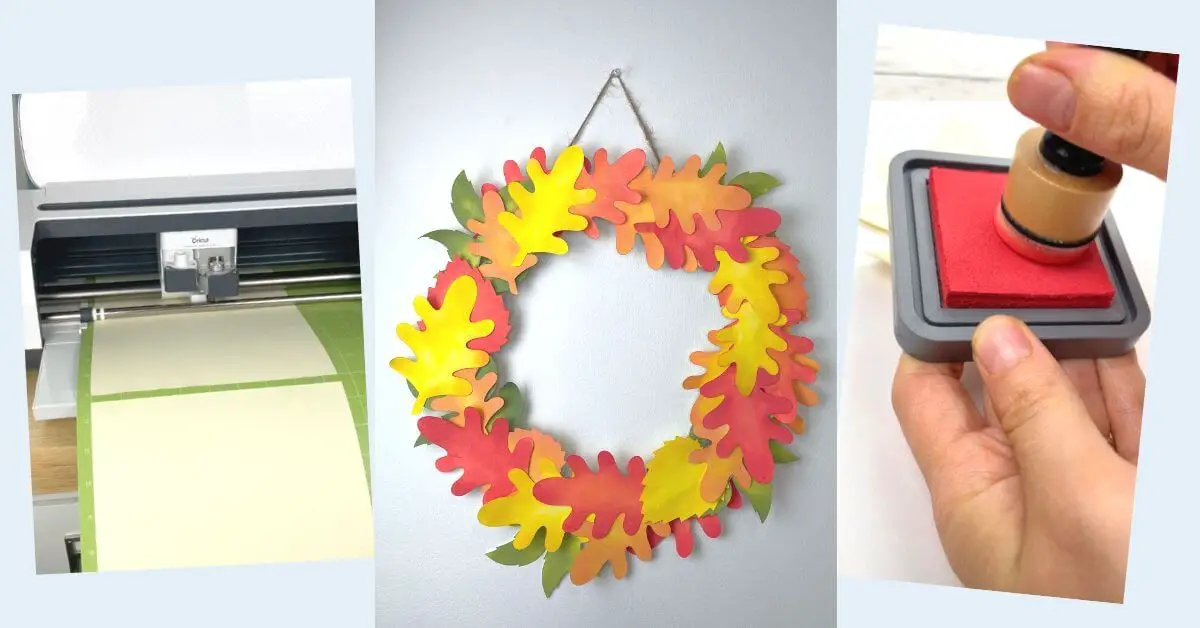
Fall is in the air! I love summer and am never in a rush to see it go, but there’s something magical about the first signs of fall. In today’s post I’m sharing a DIY wreath that encompasses all the amazing fall colours. We are making a DIY fall paper leaf wreath using Cricut and distress oxide ink!
Some of the links below are affiliate links. If you choose to make a purchase, I may receive a small commission, at no extra cost to you. Thank you for your support!
Watch
This project was done in partnership with Michaels, specifically for the Instagram Reel below. Check it out and give it some love! (this blog post was not part of the partnership)
View this post on Instagram
I also made a YouTube video sharing the full tutorial, with all the details you need to make this DIY. Check it out below!
Supplies
- Red Ink
- Orange Ink
- Yellow Ink
- Green Ink
- Cricut Maker
- Cutting Mat
- Cream Cardstock
- Wreath form
- Craft Glue
Steps
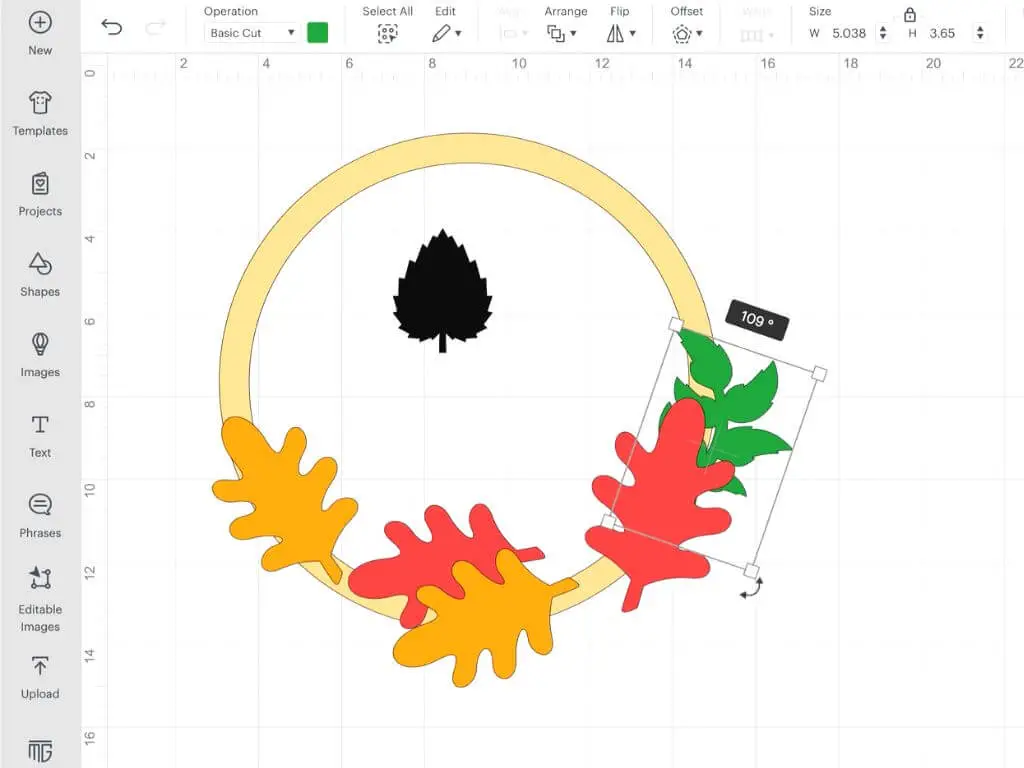
1. Design leaf patterns in Cricut Design Space: I searched for free leaf images in Cricut Design Space and found a few I liked. Then I inserted a circle the size of my wreath form (12 inches), and began arranging leaves around the outer edge of the circle.
This gave me an idea of how many leaves I needed to cut out with my Cricut. I did end up cutting a few more later, but this was a good starting point, and let me visualize what size of leaves I wanted.
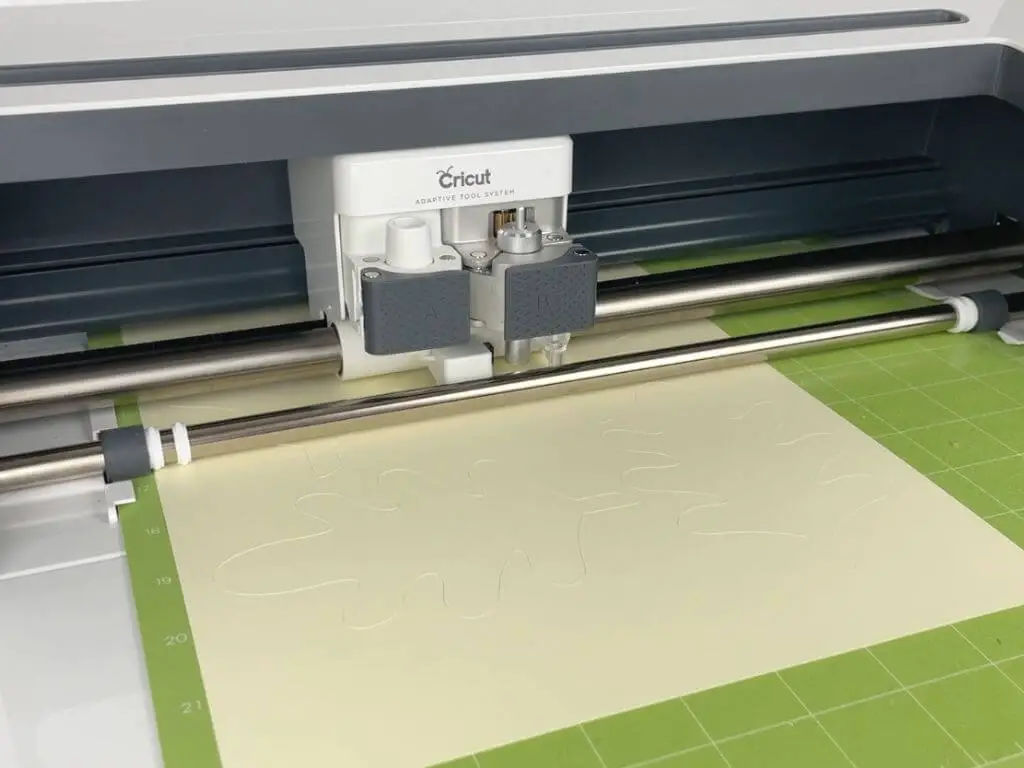
2. Cut out the leaves: I used my Cricut Maker for this project, but you could easily use the Cricut Joy or the Cricut Explore. I cut out the leaves using cream cardstock.
Since I was cutting so many leaves, I used my 24-inch long mat. This allowed me to not have to load and unload my mat quite so many times.
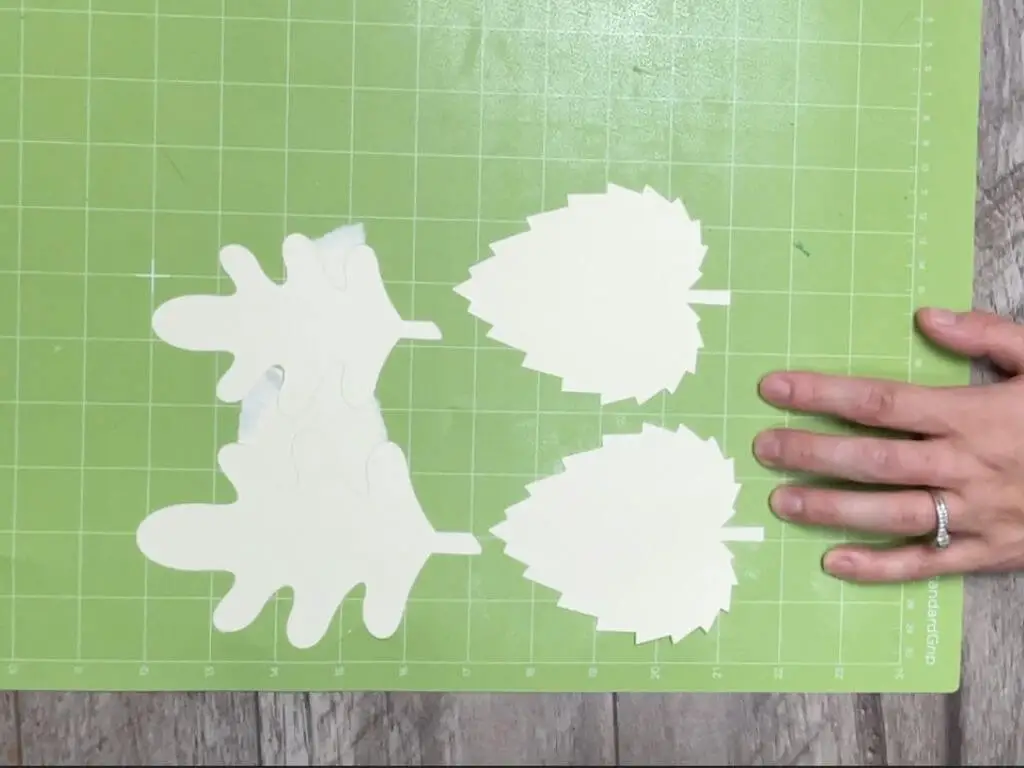
3. Weed out the leaves: I used my Cricut spatula to carefully peel the leaves off the mat, but I did rip a few of them.
I would advise using the blue mat instead, because the green mat was too sticky for this project. The blue mat is lighter and works better with cardstock.
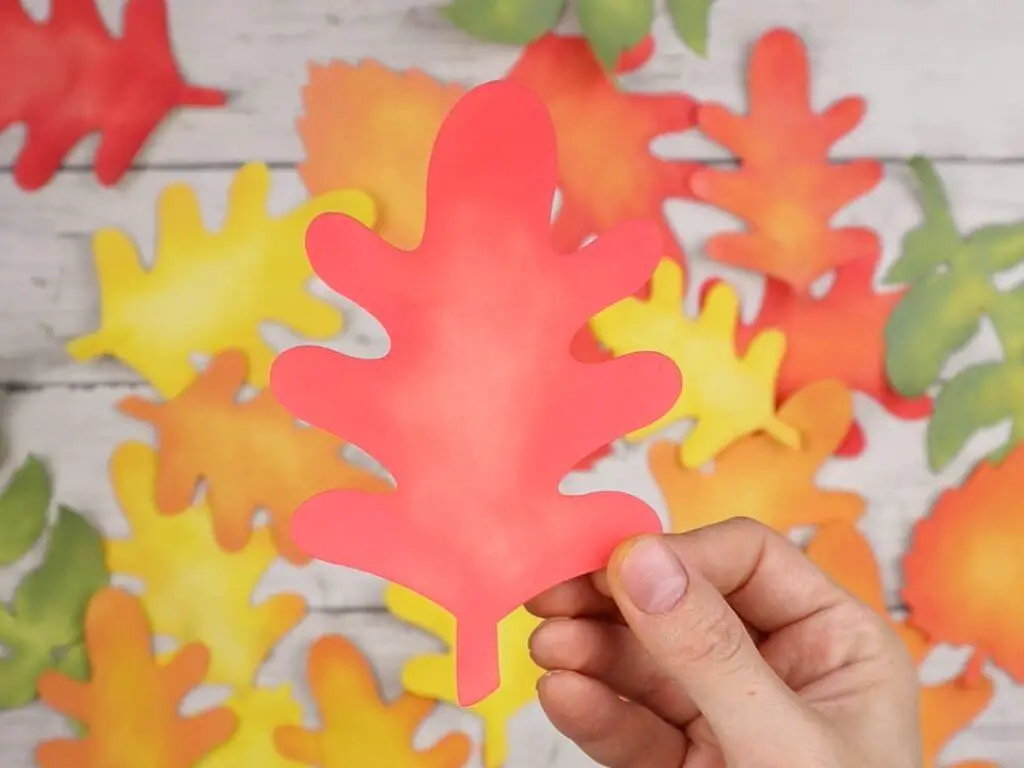
4. Dye the leaves: For this project I used four colours of distress oxide ink to dye my leaves. This was so much fun! I love the effect from the ink so much.
You could of course use coloured cardstock for the leaves instead, but I think the ink gives the leaves such a cool look and so much dimension.
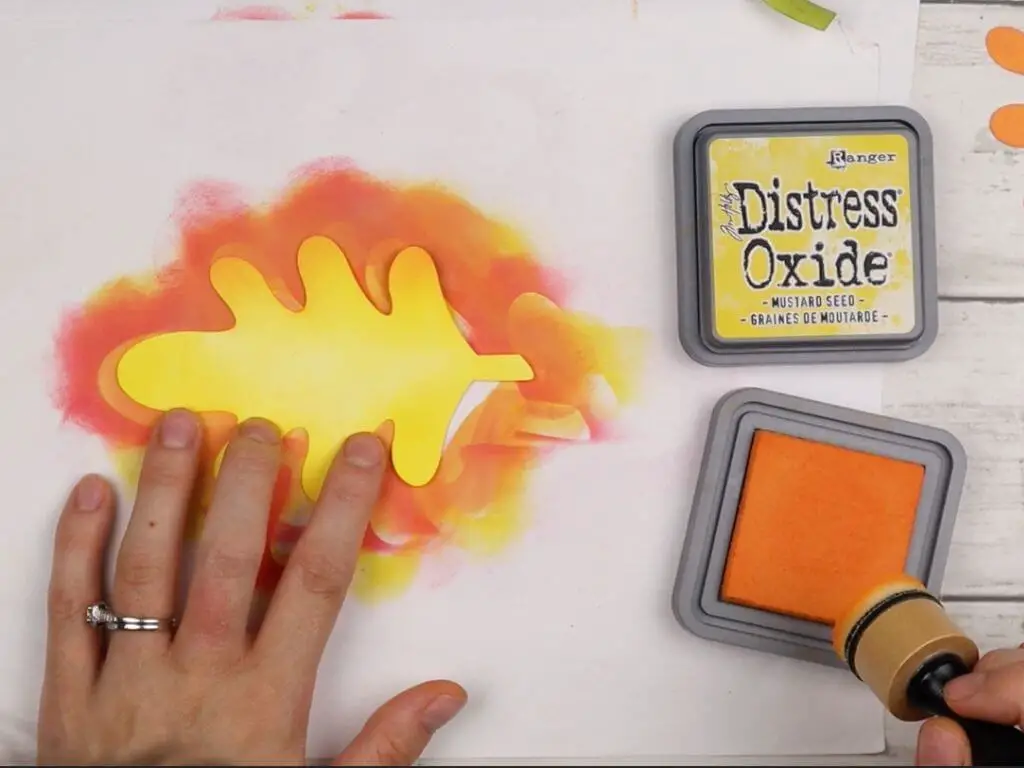
I made the edges of the leaves darker, dragging the ink toward the centre with my sponge. On some of the leaves I also experimented with using multple colours.
For example, in the photo below I used yellow ink on the whole leaf, then added orange ink to the outer edges.
This is such a great way to capture the essence of the leaves changing colours in the fall!
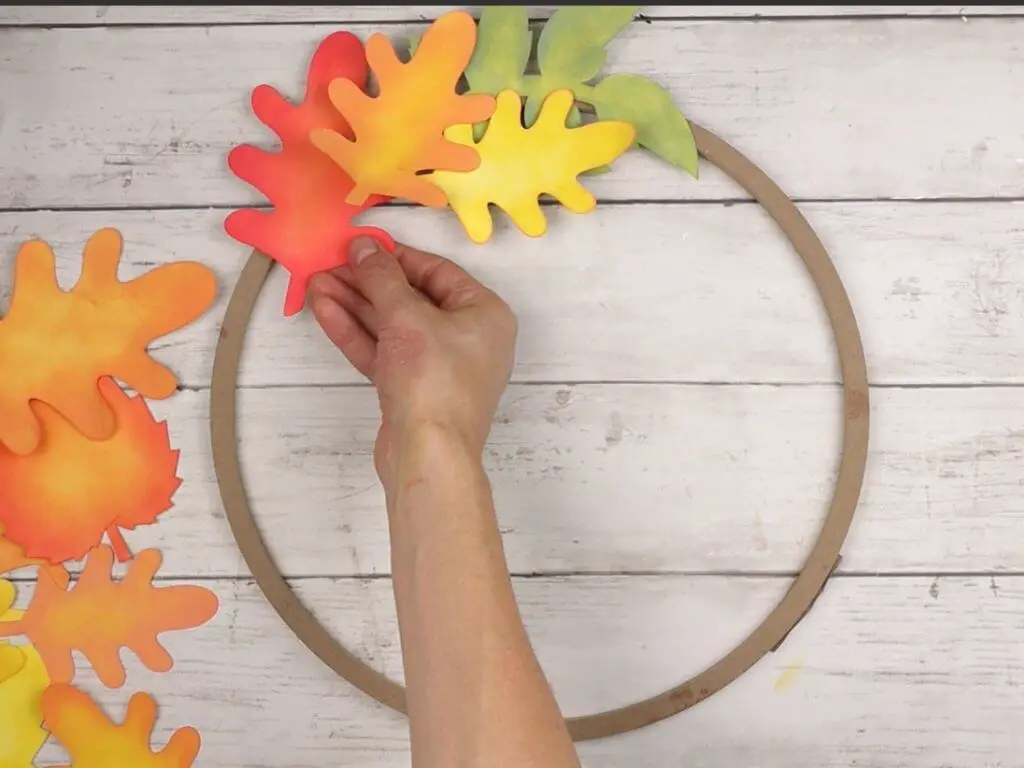
5. Arrange the leaves onto the wreath form: Now is the time to figure out where you want your leaves to go. If you planned it out on Cricut Design Space you can follow along with that as your guide.
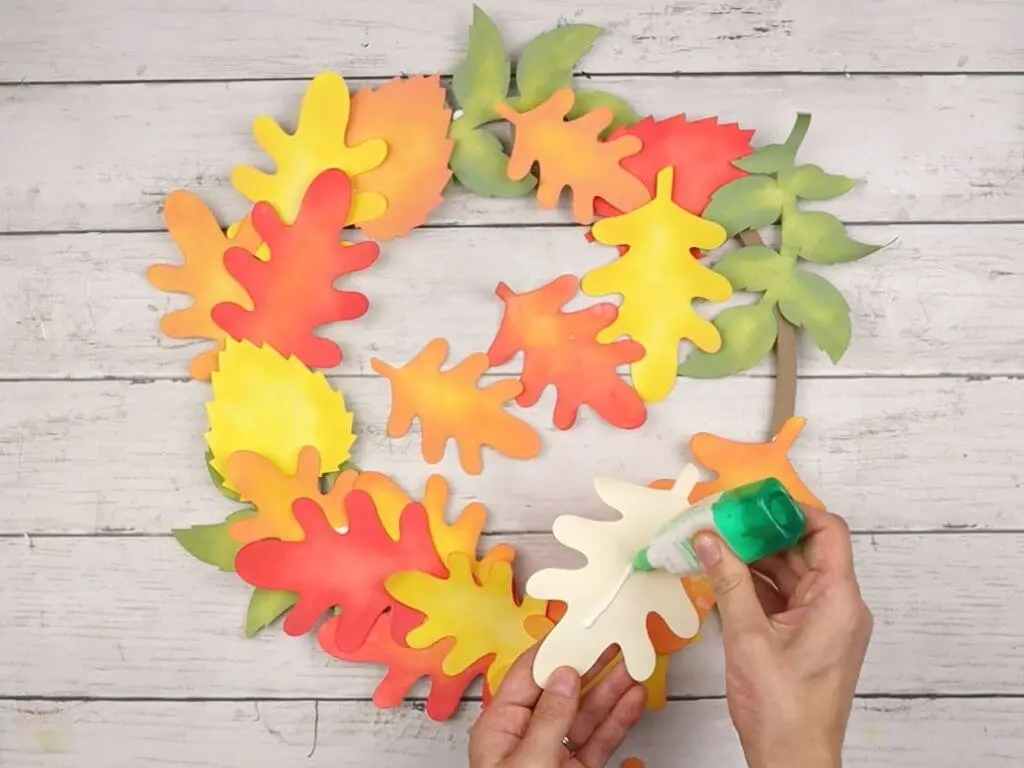
6. Glue the leaves in place: I used craft glue to stick all the leaves to the wreath form and to each other. You could also use hot glue, but I thought the craft glue worked really well. I like how craft glue doesn’t leave any residue or bumps.
7. Add a wreath hanger: I hot glued a piece of twine to the back of the wreath to hang it up. Now the beautiful DIY fall paper leaf wreath is complete!
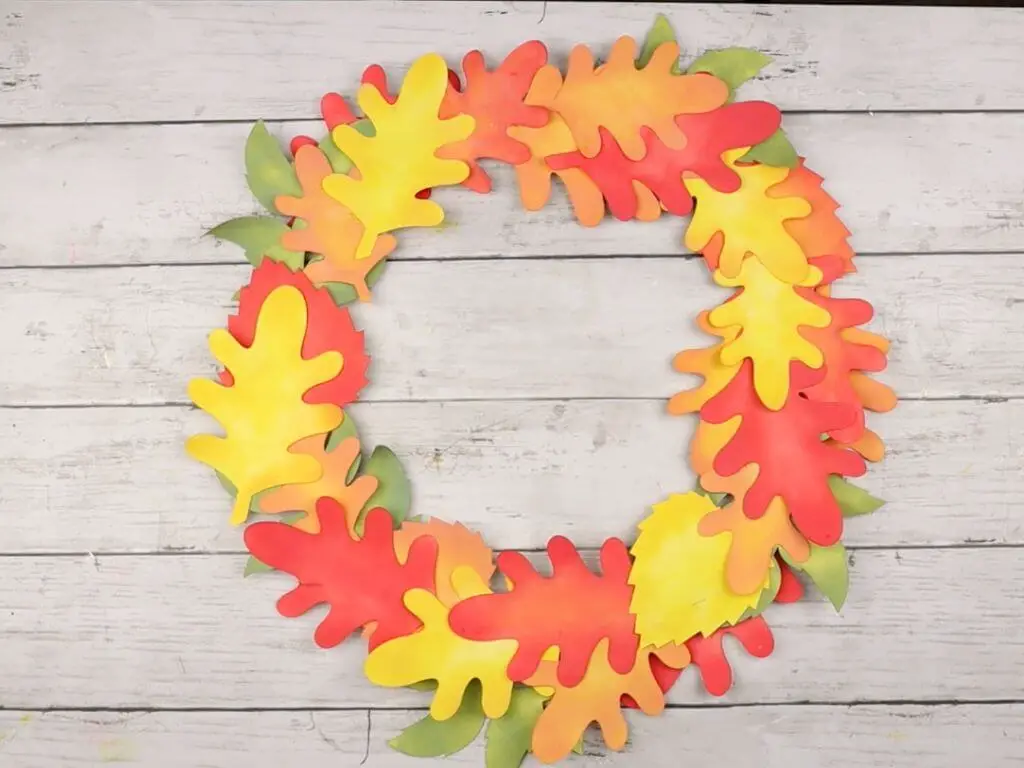

Thank you so much for reading! Share this post if you loved this DIY fall paper leaf wreath!
xo,
Andrea
